Getting your brows microbladed is a partnership between you and your artist. And honestly? The final result has just as much to do with your prep work as it does with their skill. It impacts everything—from how the color holds to how sharp and clean each hair stroke looks.
Think of it this way: your skin is the canvas. The better you prepare it, the more stunning the masterpiece will be.
Why Your Prep Work Defines Your Brow Results
Your microblading journey doesn't kick off when you hop into the artist's chair. It really starts weeks beforehand. Small tweaks to your skincare and daily habits can make a huge difference in how your skin accepts the pigment. This not only makes the appointment itself more comfortable but also sets you up for vibrant, long-lasting brows. The whole point is to get your skin as stable and receptive as possible.
Following the pre-care instructions is what separates good brows from amazing brows that heal like a dream. It helps you sidestep common problems that can mess with the outcome, like:
- Excessive Bleeding: Certain things, like alcohol or even aspirin, can thin your blood. This can actually push the pigment right back out as your artist is trying to implant it.
- Poor Pigment Retention: If you're using powerful skincare with ingredients like retinoids, your skin cells are turning over much faster. This will cause your new brows to fade way ahead of schedule.
- Skin Sensitivity: Showing up with sunburned, irritated, or freshly treated skin is a recipe for a painful session and poor results.
A Smart Investment in Your Brows
Microblading has absolutely exploded in popularity, which is all the more reason to get it right from the very beginning. The global market is expected to jump from $500 million in 2025 to a staggering $1.5 billion by 2033. This massive growth just proves that doing your homework isn’t just a suggestion—it's a smart investment in brows that look perfect from the moment you wake up and can last one to three years. If you're curious, you can discover more insights about this growing market and its trends.
Key Takeaway: Don't skip the prep. It’s non-negotiable. Getting your skin in prime condition means less discomfort during the procedure, a smoother healing process, and the flawless, long-lasting brows you’re paying for.
Of course, the first real step is choosing a certified, experienced professional, like the artists at Lavishing Eyebrows. A great artist doesn't just do great work; they also walk you through every single step of the preparation to ensure you’re safe, comfortable, and thrilled with the final look.
Your Microblading Prep Timeline: A 4-Week Countdown to Perfect Brows
Timing is everything when it comes to getting incredible microblading results. Your skin needs to be calm, healthy, and in the perfect condition to accept and hold the pigment. Think of the next four weeks as the essential prep phase for a long-term investment in your brows. Following a clear timeline takes out all the guesswork.
The journey to flawless brows is a process, and it starts long before you ever lay on the artist's table.
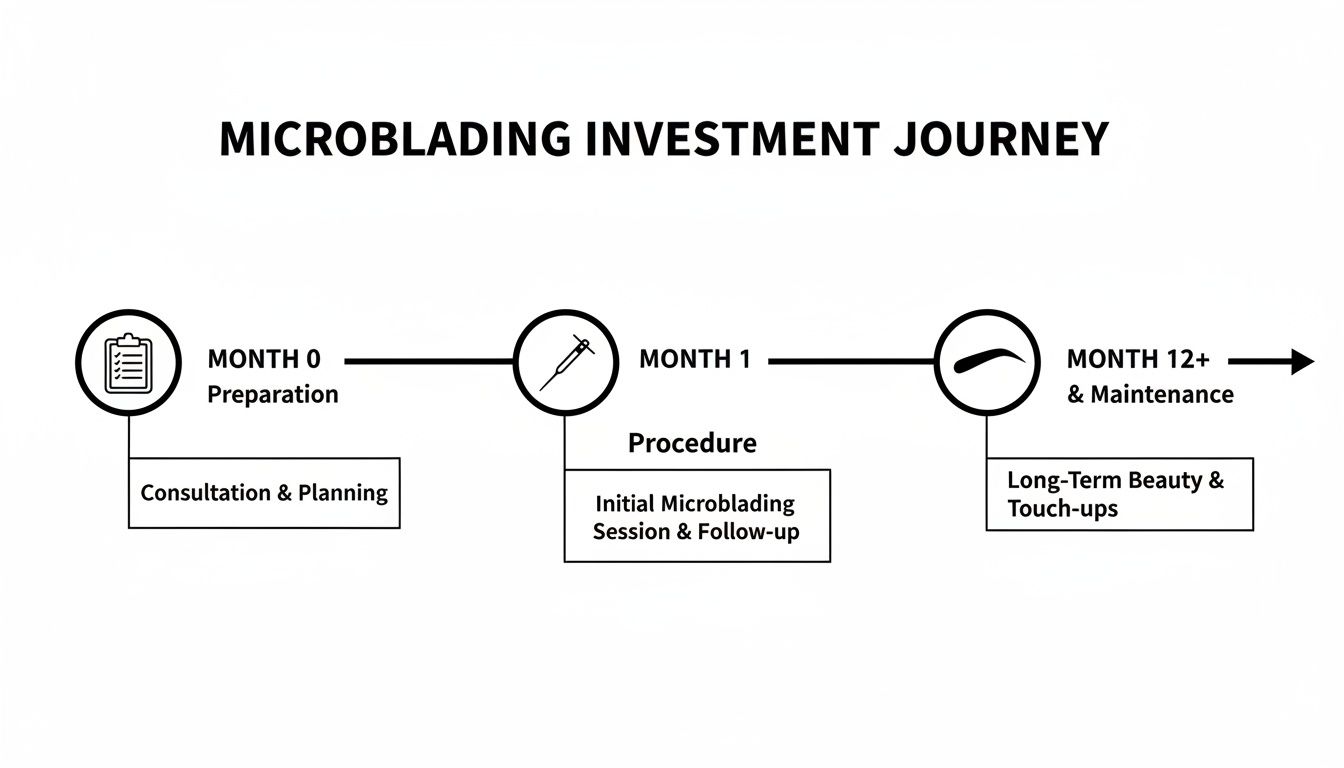
As you can see, what you do beforehand is the foundation for an amazing outcome. Let's break down the countdown.
Four Weeks Out: Laying the Groundwork
A full month before your appointment is when the real work begins. The main goal here is simple: stop any treatments that mess with your skin's texture, sensitivity, or natural cell turnover. Aggressive treatments can make your skin thin, unpredictable, and less likely to heal with crisp, clear strokes.
Your focus should be on pausing the use of:
- Retinoids and Vitamin A: This means putting away products with Retin-A, tretinoin, and retinol. These powerhouse ingredients speed up skin cell turnover, which is great for anti-aging but terrible for microblading, as it can push the pigment out too quickly.
- Intense Skin Treatments: Put a halt to all chemical peels, laser treatments, and microdermabrasion, especially anywhere near your forehead and brow area. These procedures leave the skin in a compromised state, which is the last thing you want before a cosmetic tattoo.
- Certain Antibiotics: Some antibiotics can interfere with how pigment heals and settles. If your doctor prescribes a course, it's best to finish it completely and then wait at least 2–4 weeks before your brow session.
This is also the perfect time to start hydrating your skin from the inside out. Drinking plenty of water really does improve skin elasticity, making it a much better canvas for your artist.
Two Weeks to Go: Avoid Blood Thinners & Botox
Once you hit the two-week mark, the focus shifts to avoiding anything that can thin your blood or alter the muscles around your brows. Even a tiny bit of extra bleeding can dilute the pigment, leading to blurry strokes and disappointing retention.
During this period, you absolutely need to stop:
- Blood-Thinning Supplements: It’s time to pause supplements like fish oil, high-dose vitamin E, garlic, or ginger. Always consult your doctor before stopping any prescribed medication, but over-the-counter supplements should be avoided.
- Botox and Fillers: Steer clear of any injectables near the brow area. Botox can shift the position of your brow muscles, and your artist needs to map your new brows based on your natural facial expressions and anatomy.
Your artist designs the brows for your face as it is right now—not how it will look after injectables settle or wear off. Getting Botox too close to your microblading appointment is a recipe for uneven brows down the line.
The Final Week: Hands Off the Brows!
With just seven days left, your prep becomes much more specific. The goal now is to leave your brow area completely alone. Your artist needs to see your natural hair growth pattern to create the most flattering and realistic shape for your face.
This means no waxing, threading, or tweezing. I know it’s tempting to clean up stray hairs, but resist! Your artist will handle all the grooming and shaping during the mapping portion of your appointment. You should also be extra careful about sun exposure—a sunburn on your forehead is a definite no-go.
The Critical 48–72 Hours Beforehand
These last two or three days are the most crucial. The focus is entirely on preventing anything that could increase bleeding or skin sensitivity during the procedure. What you do here directly impacts not only your comfort level but also the final, healed result of your brows.
In these final hours, you must absolutely avoid:
- Alcohol: It’s a major blood thinner. Even one glass of wine can cause excess bleeding and push the pigment right out.
- Caffeine: Sorry, but that morning coffee or energy drink is off-limits. Caffeine increases blood flow and can make your skin more sensitive and prone to bleeding.
- Certain Pain Relievers: Avoid aspirin, ibuprofen (Advil, Motrin), and naproxen (Aleve), as they all have blood-thinning properties. If you need something for pain, Tylenol (acetaminophen) is generally considered safe to take.
Microblading Preparation Timeline At a Glance
Feeling a bit overwhelmed? Don't be. Here’s a simple table to keep on hand that summarizes the entire prep timeline.
| Timeframe | What to Avoid | What to Do |
|---|---|---|
| 4 Weeks Out | Retinoids (Retin-A, retinol), chemical peels, laser treatments, microdermabrasion, certain antibiotics. | Start hydrating well; drink plenty of water. |
| 2 Weeks Out | Botox and fillers near the brow area, blood-thinning supplements (fish oil, vitamin E). | Continue to keep your skin healthy and hydrated. |
| 1 Week Out | Brow waxing, tweezing, or threading. Avoid excessive sun exposure and tanning. | Let your natural brow hair grow in. |
| 48-72 Hrs Out | Alcohol, caffeine (coffee, tea, energy drinks), blood-thinning pain relievers (aspirin, ibuprofen). | Get a good night's sleep and eat a healthy meal before your appointment. |
Following this guide sets you and your artist up for success, ensuring your skin is in the best possible shape for beautiful, long-lasting results.
Essential Skincare and Lifestyle Adjustments
When you're getting ready for a microblading session, what you do in the weeks beforehand really matters. The skincare you use and even your daily habits can dramatically affect how well your skin takes the pigment and, ultimately, how your new brows turn out. Think of these small, temporary changes as an investment in getting those crisp, long-lasting results you're after.
Your skin is the canvas for your artist. The calmer and more hydrated it is, the better the final masterpiece will be.
Why You Need to Put Your Skincare on Pause
I know you love your skincare routine, but many of the most popular ingredients are designed to exfoliate and accelerate skin cell turnover. That's great for getting a glow, but it's the absolute enemy of fresh microblading.
Ingredients like retinoids, glycolic acid, and other AHAs/BHAs will literally push the pigment out of your skin, causing it to fade way too fast—sometimes before it’s even healed.
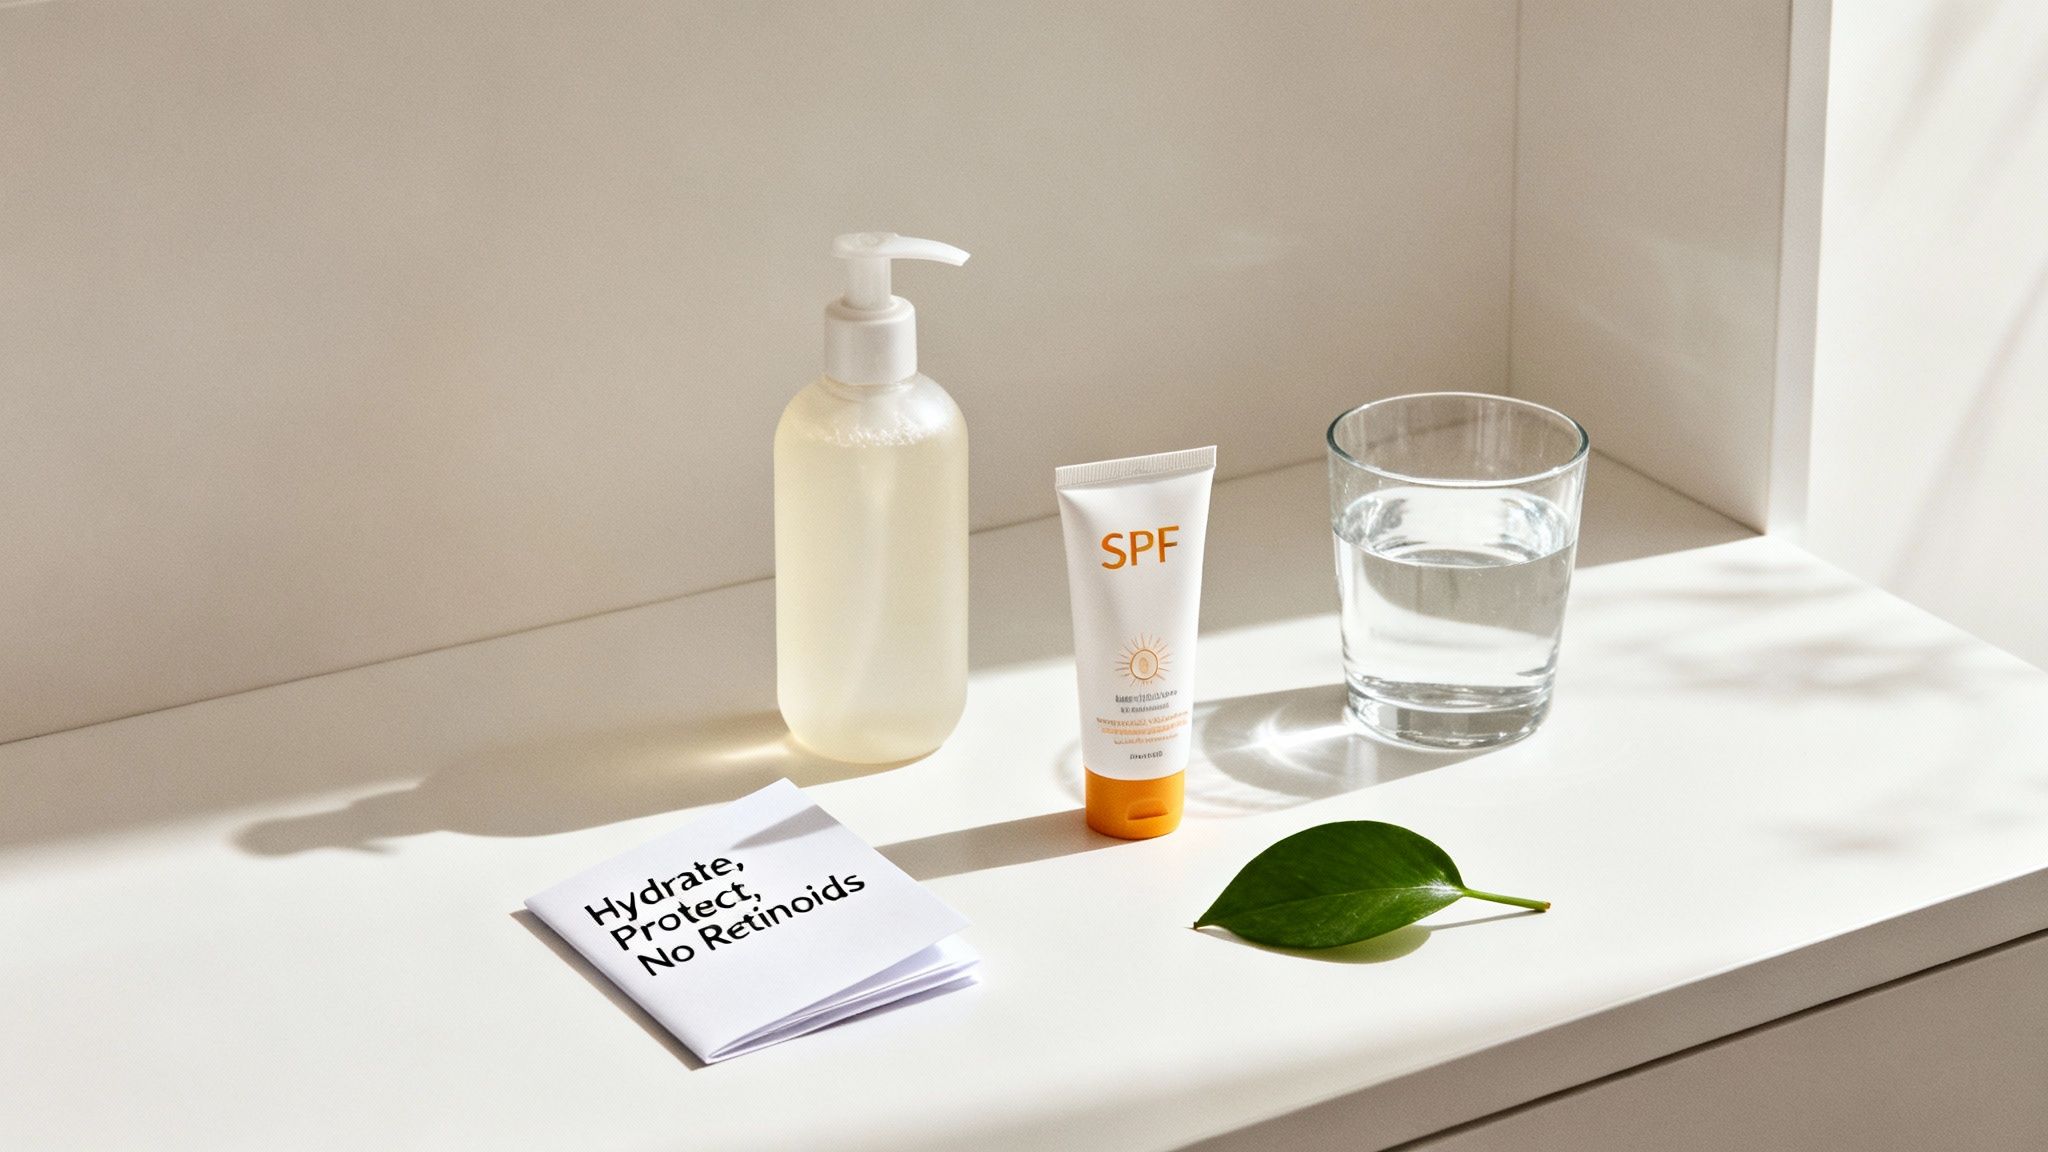
For at least two to four weeks before your appointment, you have to stop using these active ingredients, especially on your forehead and around your brow area. Swap them out for a simple, gentle routine focused purely on cleansing and hydration. A basic, non-active cleanser and a solid, oil-free moisturizer are all you need.
Sun Exposure: The Arch-Nemesis of Pigment
Showing up to your appointment with tanned or—even worse—sunburned skin is a non-starter. Sunburned skin is damaged, inflamed, and in a state of repair, which makes it impossible to work on. The procedure would be extremely painful, and the results would be a disaster.
Even a simple tan is a problem because it changes your natural skin tone. Your artist needs to match the pigment to your real complexion for the healed color to look natural. If they match it to your tan, your brows could end up looking too dark or ashy once your tan fades.
Key Takeaway: You have to be religious about protecting your face from the sun in the weeks leading up to your appointment. Wear a hat and a broad-spectrum SPF of 30 or higher every single day. This isn’t just good pre-care; it’s a lifelong habit that will protect your brow investment from fading.
Small Lifestyle Tweaks for Big Results
Beyond your skincare, a few other adjustments can make a huge difference. In fact, your skin's condition is estimated to dictate up to 60% of your final results.
For example, I see this all the time with clients who have oily skin—their pigment tends to fade faster, sometimes by as much as 20-30%. If that's you, switching to oil-free moisturizers and maybe some mattifying products a couple of weeks beforehand can make a world of difference. Proper prep combined with an artist who invests in high-quality tools is the recipe for success. The market for microblading tools is projected to grow to $252 million by 2032, which just shows how much the industry values precision and safety.
Here are a few more crucial dos and don'ts:
- Do Hydrate. Drink tons of water. Well-hydrated skin is more elastic and just plain healthier.
- Don't Touch Your Brows. No waxing, threading, or tweezing for at least one week before. Your artist needs to see your natural brow shape to create the best design.
- Do Eat Well. Have a good meal before you come in. It helps keep your blood sugar stable so you stay comfortable throughout the session.
- Don't Drink Alcohol or Caffeine. You need to skip alcohol and caffeine for at least 48 hours before your appointment. Both are blood thinners and can cause excess bleeding and sensitivity.
Following these steps gets your skin perfectly prepped for a smoother procedure and the best possible outcome. And once your brows are done and healed, you’ll want a solid plan to keep them looking amazing. Make sure you read through our detailed microblading aftercare instructions for a complete guide on taking care of them long-term.
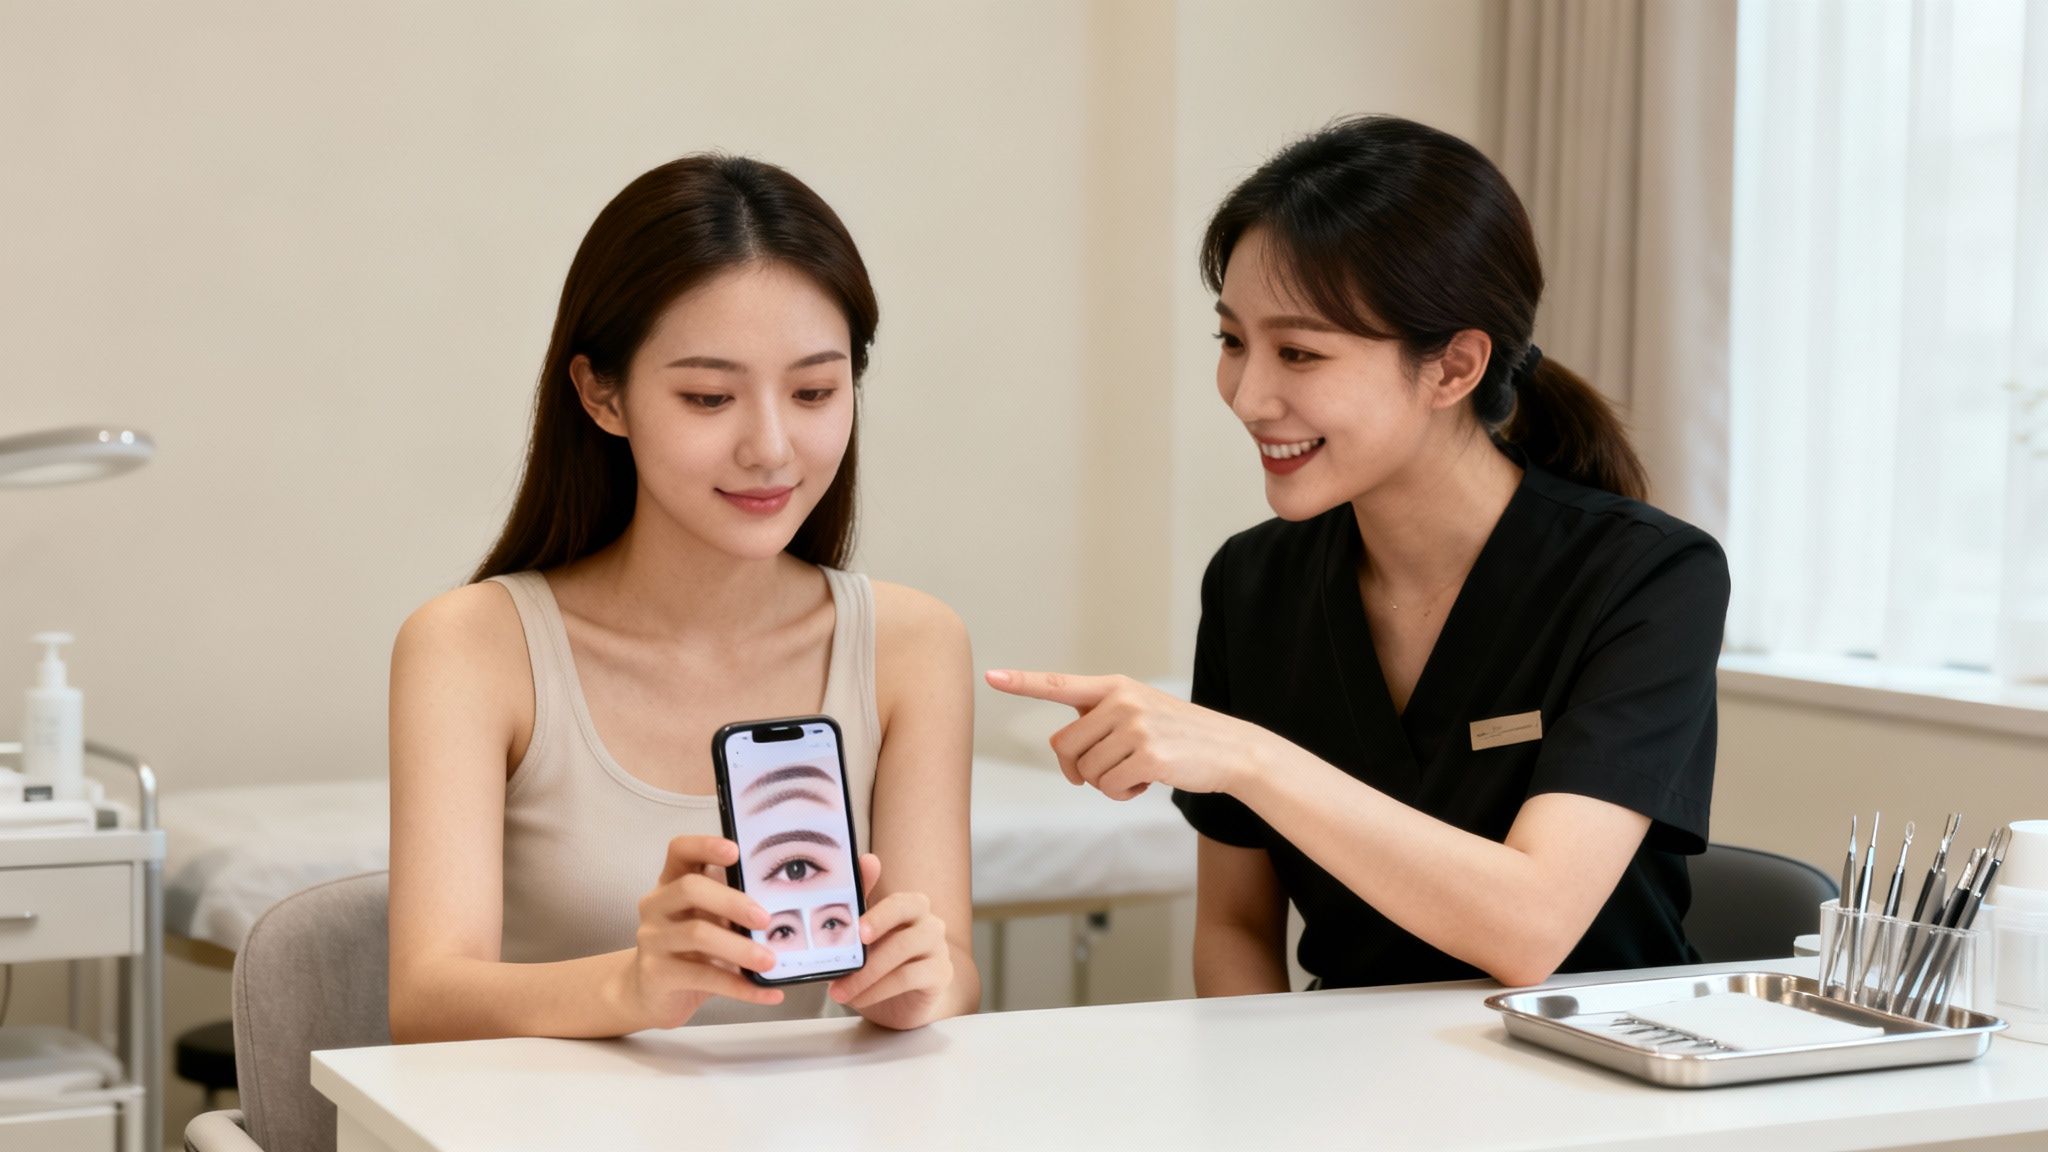
Your Consultation and Appointment Day: The Final Steps
Think of your consultation as the strategy session for your new brows. This is where your vision and your artist's expertise come together. It's your time to ask everything, get comfortable, and make sure you and your artist are on the same page before a single stroke is made.
Finding the right artist is probably the most critical part of this whole process. The permanent makeup (PMU) market is booming—valued at $152.4 million globally in 2024—and with that growth comes a flood of new providers. Since the industry is made up of many small, independent studios, it's on you to do your homework. In fact, over 80% of clients say that an artist's certifications and hygiene standards are their top priorities. You can read more about the permanent makeup market trends to see why this vetting process is so important.
Questions to Ask Your Microblading Artist
Walk into that consultation prepared with questions. A great artist will expect them—and welcome them. This is not the time to be shy.
Here are a few non-negotiables to ask about:
- Certification and Licensing: Start with the basics. "Can I see your certifications and the studio's health department license?" A true professional will have these on display and be happy to talk you through them.
- Sterilization Practices: Ask point-blank, "How do you sterilize your tools?" The only acceptable answer involves single-use, disposable needles for every client and an autoclave for any reusable equipment. No exceptions.
- Pigment Ingredients: It's smart to ask, "What kind of pigments do you use? Are they iron-oxide based?" Knowing what's going into your skin can help prevent potential allergic reactions down the road.
- The Healing Process: A good question is, "Can you walk me through what to expect, day by day, as my brows heal?" Understanding the scabbing, flaking, and color shifts ahead of time will save you a ton of anxiety.
A reputable artist will never make you feel like your questions are an inconvenience. Their job is to build trust and educate you, ensuring you feel 100% confident in your decision.
Getting on the Same Page About Your Brow Style
To get the brows you actually want, you need to speak the same language as your artist. Words like "natural" or "bold" are subjective, so visuals are your best friend here.
Bring a handful of photos of brows you love. Pro tip: try to find pictures of people with a similar face shape and skin tone to yours. This gives your artist a solid reference point to start from when designing a shape that flatters your unique features, not just copying a trend.
Your Appointment Day Checklist
The big day is here! You’ve done all the prep work, and now it’s time for the magic to happen. A little day-of planning will make the whole experience feel calm and easy.
Just run through this simple checklist before you head out:
- Arrive with a Clean Face: No need for makeup, especially around the eyes and brows. Your artist is going to clean the area thoroughly anyway, but a fresh canvas is always appreciated.
- Eat a Good Meal: Don't show up on an empty stomach. Having a meal beforehand keeps your blood sugar stable so you won't feel woozy or faint during the procedure.
- Dress for Comfort: You’ll be lying down for a couple of hours. Think yoga pants and a cozy top, not your tightest jeans.
- Bring Headphones (If That's Your Vibe): If listening to music or a podcast helps you zone out and relax, by all means, bring them along.
Knowing you've covered all your bases helps quiet those last-minute butterflies. Following these simple steps will ensure your microblading experience is as comfortable and smooth as possible.
Hold On—Is It Safe to Proceed? When to Reschedule Your Microblading
Knowing how to prep for your appointment is one thing, but it’s even more critical to know when you should hit pause. Your health and safety are the number one priority, and some situations—what we in the industry call contraindications—just don't mix with microblading.
Any artist worth their salt will put your well-being far ahead of just filling a spot in their schedule.
This is where complete honesty during your consultation becomes non-negotiable. Keeping health details to yourself isn't just a bad idea; it can lead to some serious problems like a nasty infection, botched healing, or results that are all over the place. Let’s walk through the major red flags so you can reschedule if needed.
Health and Skin Conditions That Are Dealbreakers
Certain medical issues or skin problems can seriously mess with the microblading process, not to mention your final look. Remember, we're creating tiny incisions in the skin, so your body needs to be in a good place to heal correctly. If your skin is already stressed out, especially around the brows, the results will be compromised from the start.
You absolutely need to postpone your appointment if any of these apply to you:
- Pregnancy or Breastfeeding: Your hormones are on a rollercoaster, which can wreak havoc on how your skin holds pigment. Plus, even the smallest risk of infection is one you just can't take when you're carrying or feeding a little one.
- Recent Accutane Use: This is a big one. You must be off Accutane (Isotretinoin) for at least one full year. That medication makes your skin incredibly fragile and thin, and trying to microblade it is a recipe for scarring.
- Undergoing Chemotherapy: Chemo suppresses your immune system, leaving you wide open to infection. It’s best to wait until your treatment is over and your doctor gives you the all-clear.
- Active Skin Conditions on Your Brows: Got eczema, psoriasis, dermatitis, or a bad breakout right in the brow area? We can't work on skin that's already inflamed or broken. It’s got to be calm and healthy.
An Artist's #1 Job: A true professional will never move forward if they spot a contraindication. Their goal is to give you gorgeous, long-lasting brows safely, and that starts with a healthy canvas. Hiding a condition is a risk to everyone involved.
To get a better feel for the kind of disclosures and safety standards involved, it’s a good idea to look over an informed consent form for microblading. It gives you a great inside look at what a professional process should cover. When it comes to your health, honesty is always the best policy.
Your Last-Minute Microblading Questions, Answered
Even when you follow the prep guide to the letter, it's totally normal to have a few questions pop into your head as your appointment gets closer. Feeling confident and calm is a huge part of the process, so let's walk through some of the common things clients ask about.
Getting these final details ironed out can make all the difference and ease any pre-appointment jitters.
Can I Wear Makeup to My Microblading Appointment?
It’s much better to arrive with a completely clean, makeup-free face. Your artist will, of course, sanitize your brow area thoroughly before they start, but any lingering traces of foundation, powder, or brow pencil can get in the way of a perfectly sterile canvas.
You can definitely wear makeup on the rest of your face if you want, but honestly, it’s just simpler to come as you are. It helps things get started smoothly.
What if I Accidentally Use a Restricted Skincare Product?
Don't panic, but don't ignore it either. Honesty is absolutely the best policy here. If you realize you absentmindedly used a retinol cream or took an ibuprofen, call your artist right away and tell them.
Depending on what you used and when, they might need to reschedule you. Trying to push through could cause more bleeding during the procedure, which dilutes the pigment and can lead to blurry, faded results. It is always, always better to postpone for a perfect outcome than to risk a bad one.
Should I Get My Eyebrows Groomed Before My Session?
Please don't! This is a big one. Put down the tweezers and cancel that wax or threading appointment. You should avoid all brow grooming for at least a full week before you come in.
I know it feels backward, but your artist needs to see your natural hair growth—every last stray—to design the most realistic and flattering shape for your unique face. They'll handle all the necessary cleanup and shaping as part of the mapping process.
Trust your artist to sculpt your brows from their natural state. They are trained to see the potential in your brow structure and will shape them perfectly to frame your face during the appointment.
How Much Does It Hurt and How Can I Prepare?
Most of my clients describe the feeling as more of a light scratching than actual pain. Think of it like a series of quick tweezes. We use a powerful topical numbing cream before we even begin, and it’s often reapplied throughout the session to keep you comfortable.
To help minimize sensitivity on the day:
- Skip the caffeine and alcohol for at least 48 hours beforehand. Both can make your skin more sensitive.
- Hydrate, hydrate, hydrate. Drinking plenty of water in the days leading up to your appointment really helps.
- Time it right. If you can, try not to book your appointment during your menstrual cycle, as your skin can be more tender then.
Knowing what to expect after the appointment is just as important. For a detailed timeline, check out our guide to the microblading healing process.
Ready to take the next step toward the effortless, beautiful brows you deserve? At Lavishing Eyebrows, Vicky provides a safe, professional, and personalized experience from start to finish. Book your consultation today and let's design your perfect look together. https://lavishingeyebrows.com
Article created using Outrank