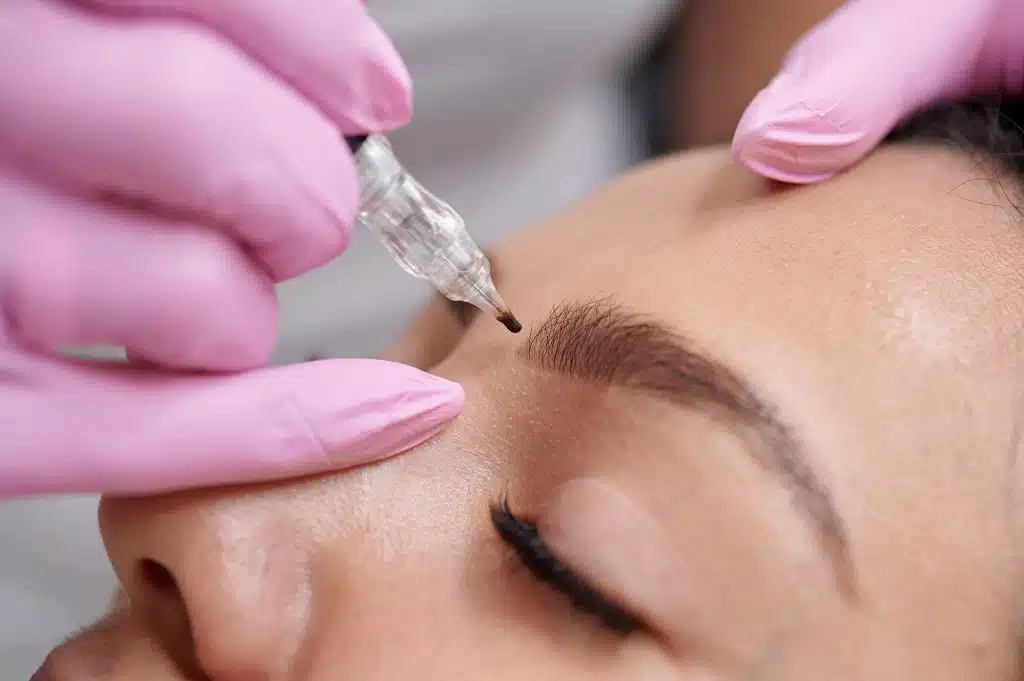
Microblading aftercare tips are crucial to maintaining the beauty of your new eyebrows and ensuring they last. Following proper aftercare helps prevent potential complications and ensures your eyebrows heal correctly. Here’s what you need to know right away:
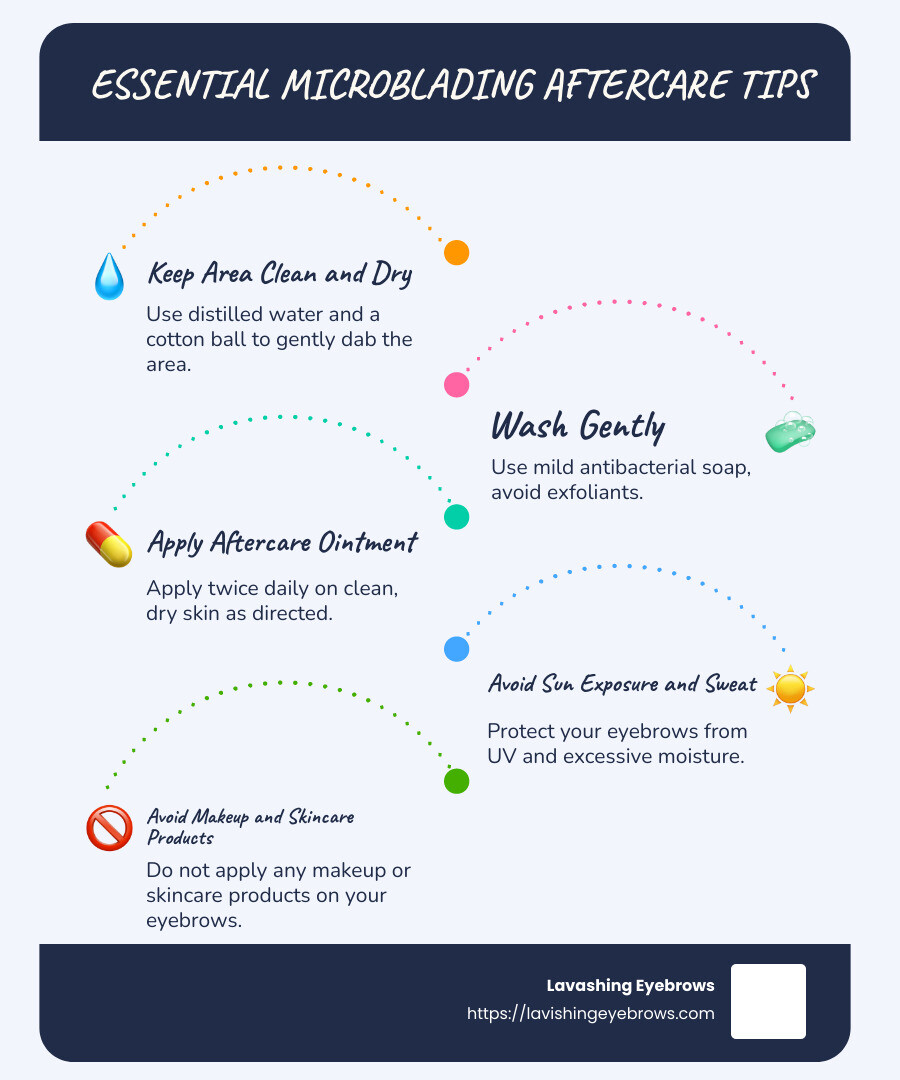
- Keep the area clean and dry: Use distilled water and a cotton ball to gently dab the area.
- Wash gently: Use mild antibacterial soap and avoid exfoliants.
- Apply aftercare ointment as directed: Only twice daily on clean, dry skin.
- Avoid sun exposure and heavy sweating.
- Steer clear of makeup and skincare products on your eyebrows.
Taking good care of your eyebrows after microblading is not just a suggestion—it’s an investment in your appearance. Proper aftercare significantly contributes to the longevity and quality of your eyebrows. Think of it as preserving a piece of art; the better you care for it, the longer it will stay beautiful.
Your eyebrows are an essential part of your face, framing your expression and enhancing your natural features. With microblading, this improvement can last between 18 to 30 months, but only if you follow the right aftercare routine. Well-cared-for brows ensure you get the full benefit of your microblading session, preventing pigment loss and ensuring a vibrant, lasting look.
Microblading aftercare tips definitions:
Essential Microblading Aftercare Tips
After microblading, your eyebrows need special care to look their best. Here are some essential microblading aftercare tips to follow:
Avoid Water
For the first 7-10 days, keeping your eyebrows dry is crucial. Water can interfere with the pigment setting properly and may lead to color loss. When showering, keep your face away from direct water contact. You can use a washcloth to protect your brows or apply a thin layer of Vaseline as a barrier before stepping into the shower.
Avoid Makeup
It’s tempting to reach for your favorite brow pencil or powder, but resist the urge! Applying makeup on your eyebrows during the healing process can lead to infections or pigment disruption. Wait at least 10-14 days before using any makeup products on or near your brows.
Avoid Lotions
Keep lotions and creams away from your microbladed eyebrows. Moisturizers can suffocate the area, causing the pigment to fade or change color. Focus on using only the recommended aftercare ointment, and apply it sparingly with clean fingers.
Avoid Soap
While washing your face, be cautious around the eyebrow area. Use a mild, antibacterial soap like Cetaphil, but avoid scrubbing your brows. Instead, gently cleanse the surrounding areas and rinse thoroughly to ensure no soap residue is left behind.
By following these microblading aftercare tips, you can help your eyebrows heal properly and maintain their beautiful, natural look. The first few weeks are crucial, so be diligent with your care routine to enjoy long-lasting results.
Do’s and Don’ts of Microblading Aftercare
After your microblading procedure, your eyebrows will go through a healing process. During this time, it’s important to follow specific do’s and don’ts to ensure the best results.
Itching and Flaking
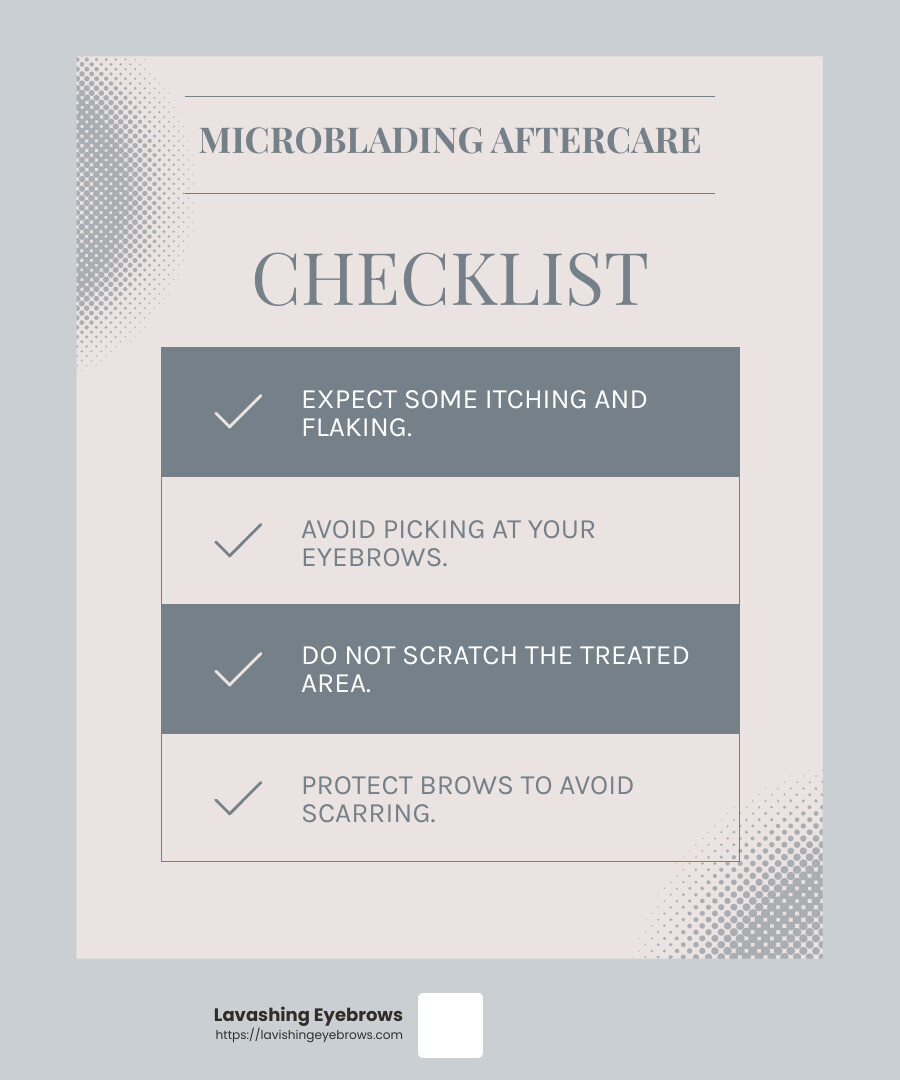
Do expect some itching and flaking during the first week. This is a normal part of the healing process as your skin regenerates and the pigment settles. If you notice flakes, let them fall off naturally.
Avoid Picking
Don’t pick at your eyebrows. It might be tempting to remove the flakes or scabs, but picking can lead to pigment loss and even scarring. Allow your skin to heal on its own to maintain the color and shape of your brows.
Avoid Scratching
Don’t scratch the treated area. Scratching can introduce bacteria to the open skin, increasing the risk of infection. It could also disturb the healing process and affect the final appearance of your brows.
Avoid Scarring
Do protect your brows to avoid scarring. Keep them clean and dry, following your aftercare instructions. Avoid any activities that might irritate the area or expose it to dirt and debris.
By adhering to these guidelines, you can help ensure your microbladed eyebrows heal beautifully and last as long as possible. Proper aftercare is crucial for achieving the best results.
In the next section, we will explore the different phases of the healing process and what changes you can expect in the appearance of your brows over time.
The Healing Process: What to Expect
Once your microblading procedure is complete, your eyebrows will begin a healing journey. Understanding the healing phases and what changes to expect can help ease any concerns you might have. Here’s a breakdown of what typically happens:
Healing Phases
Days 1-3: Initial Healing
Immediately after the procedure, your brows might appear bold and a bit red. This is normal. The area may feel tender, but it’s crucial to keep it clean and dry. During these first few days, avoid touching or wetting the area to allow the skin to start repairing itself.
Days 4-7: Scabbing Begins
Around this time, you might notice some scabbing. This is a natural part of the process as your skin heals. Resist the urge to pick at the scabs. Picking can lead to pigment loss or uneven healing. Instead, keep the area clean and let the scabs fall off naturally.
Days 8-14: Flaking and Peeling
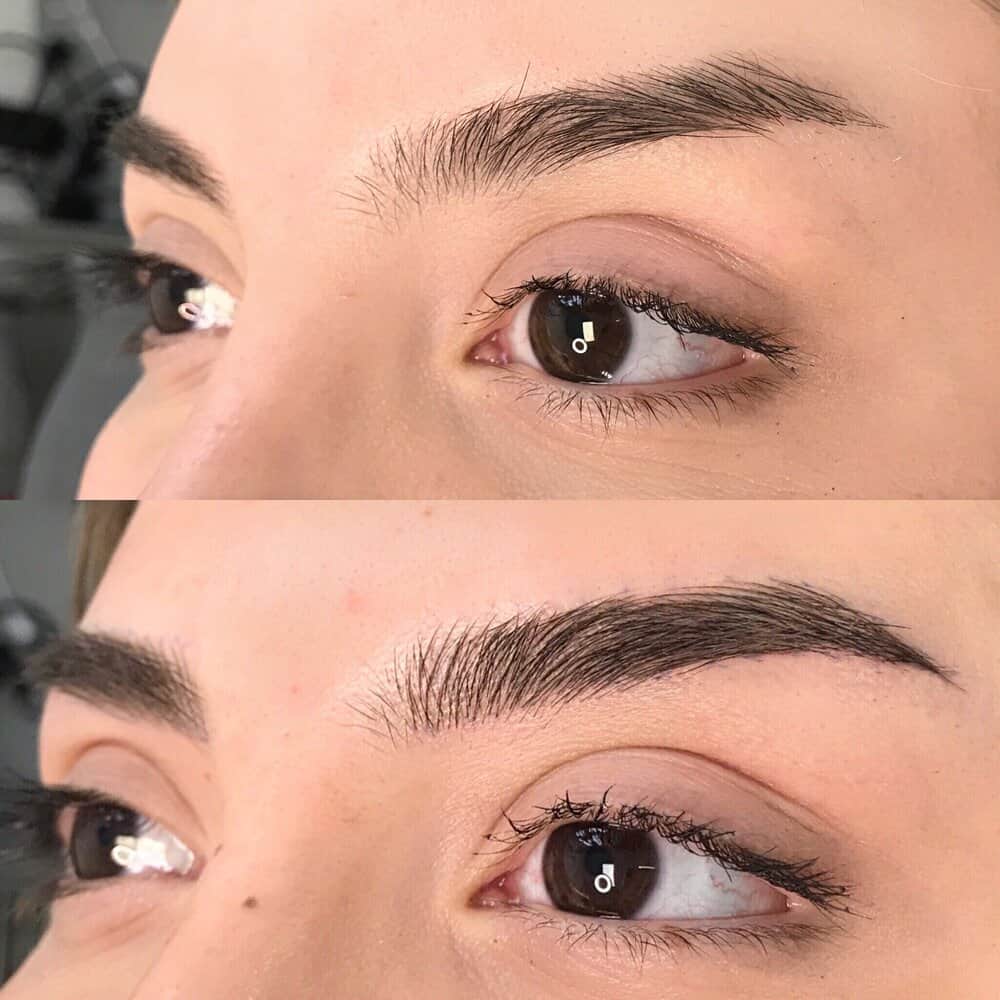
As the scabs begin to fall off, your skin may start to flake. This is when the true color of your brows starts to emerge. The eyebrows might look lighter than expected, but don’t worry—this is temporary. Continue to follow your aftercare routine carefully.
Color Changes
During the healing process, expect some color changes. Initially, your brows may seem darker due to scabbing. As the scabs peel away, the color will lighten. By around day 40, the pigment will settle and reveal its final shade. This gradual change is normal and expected.
Final Appearance
By the end of the healing process, usually around six weeks, your eyebrows will have settled into their final appearance. They should look natural and well-defined. Patience is key. The full beauty of your microbladed brows will reveal itself over time.
Following the aftercare instructions diligently ensures a smooth healing process and optimal results. Your new brows are an investment, and taking care of them will help maintain their longevity and vibrancy.
In the next section, we will address some frequently asked questions about microblading aftercare to further guide you through this journey.
Frequently Asked Questions about Microblading Aftercare
When can you wash your eyebrows after microblading?
Avoiding water is crucial in the first few days post-procedure. For the initial 7 days, keep your eyebrows dry to prevent disrupting the healing process. During this time, the skin is forming a protective barrier, and exposure to water can lead to pigment loss or infection.
However, you can gently cleanse the area twice a day with a mild antibacterial soap like Cetaphil from day 1, using your fingertips. Make sure to rinse thoroughly and pat dry with a clean tissue.
What are the do’s and don’ts after microblading?
Do’s:
- Apply ointment: After cleaning, apply a small amount of aftercare ointment twice daily. Use a clean finger to apply, ensuring the area is dry before application.
- Keep it clean: Use clean hands and tools when touching the area.
Don’ts:
- Avoid sun exposure: Direct sunlight can fade the pigment. Stay out of the sun and avoid tanning beds for at least two weeks.
- No picking or scratching: Scabbing is part of the healing process. Picking can lead to scarring or uneven pigment distribution.
- Avoid makeup and lotions: Keep these products away from your eyebrows for 14 days to ensure proper healing.
Why are my brows getting darker?
During the initial healing phases, your brows may appear darker due to scabbing. This is a normal reaction as your skin heals. The pigment is settling into the cuts made during the procedure, and the scabs are a protective layer.
As the scabs naturally fall off, the color will lighten and start to settle. This process can take up to 40 days, after which the true color will emerge. Be patient—your brows will soon reveal their beautiful, natural look.
Conclusion
At Lavishing Eyebrows, we understand that achieving the perfect brow is more than just a cosmetic procedure—it’s a journey to improve your natural beauty. Our personalized services are designed to cater to your unique facial features, ensuring that your brows complement and lift your appearance.
Our skilled artistry in microblading creates natural-looking brows that are custom to each individual. We take pride in our attention to detail and commitment to providing results that not only meet but exceed your expectations. With the right aftercare, the results of your microblading can last for years, giving you the confidence to accept your authentic beauty every day.
For more information on how we can help you achieve your dream brows, visit our Lavishing Eyebrows service page. Whether you’re new to microblading or looking for a touch-up, we’re here to guide you every step of the way.
Thank you for trusting us with your beauty journey. We look forward to helping you find the perfect brows that are uniquely yours.